Users
The User sub-module of the Admin Panel allows you to create, edit, and manage user accounts. This includes controlling user access, managing authentication, and performing bulk operations.
Each user profile in the system consists of the following information:
- Full Name: The user's complete name (required)
- Username: A unique identifier for the user (required)
- Email ID: The user's email address for communications and account recovery (required)
- Roles: The role or roles assigned to the user
- Account Status: The user's account status (Active or Inactive)
- User Photo: An optional profile image for the user
Accessing User Management
In this section, you will get to know how to access the User Management sub-module.
To access the User Management sub-module, do the following:
-
Login to the platform.
-
Click the User Profile Avatar and then click the Users sub-module.

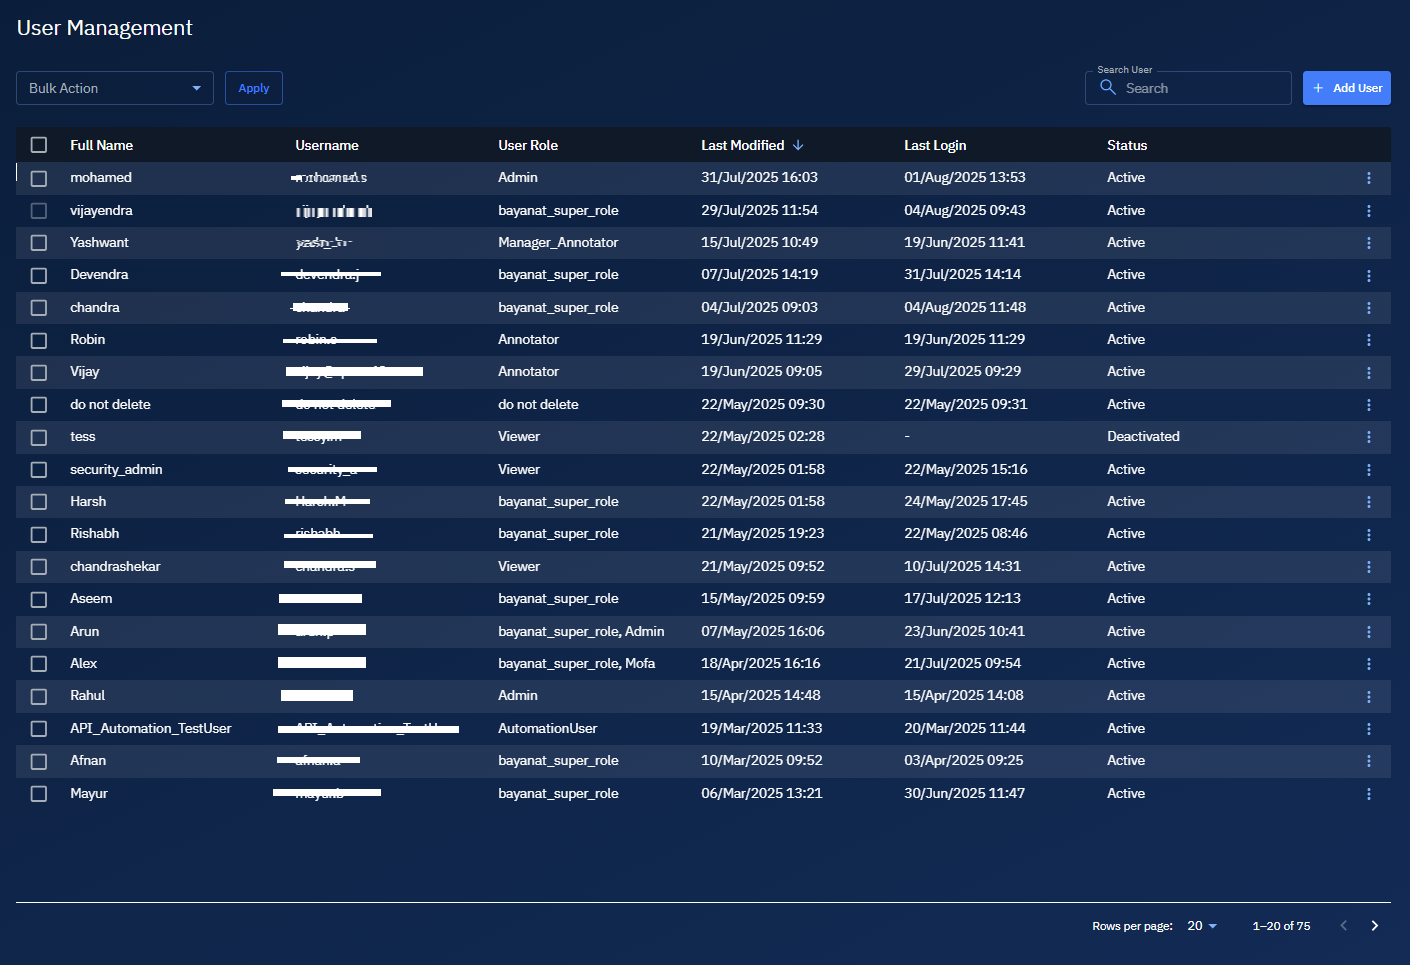
The User Management page is displayed:
Adding User
In this section, you will learn how to add a user to the platform.
Pre-requisites:
-
You need Super User or Admin permissions.
-
Think of the role(s) and initial status for the user (Active/Inactive).
-
Keep a set temporary password ready that aligns with your organization's password policy.
To add a user, do the following:
-
Login to the platform.
-
Click the User Profile Avatar and then click the Users sub-module.
The User Management page is displayed:
-
On the User Management page, do the following:
-
Click the Upload Photo button to upload a profile picture of the user. Currently only the following formats are supported: png, jpg, jpeg, bmp; max 2 MB.
-
Type the name of the user in the Full Name field. This is the user's display name.
-
Type a username in the Username field. This is the unique login identifier of the user.
-
Type the official email id of the user in the Email field. This email id will used for verification and notifications.
-
Select one or more roles that grant the least required access in the Roles drop-down list.
-
Select Active (can sign in) or Inactive (cannot sign in yet) in the Account Status drop-down list
-
Set a password in the New Password field and then re-enter the password in the Re-enter New Password field. Both the passwords must match and meet the password policy of your organization.
-
Toggle the Email Verified field to turn on if the email is already confirmed. Turning it off automatically sends a verification email to the user.
-
Toggle the Force user to change password field to turn on mandatory password change right after the first login.
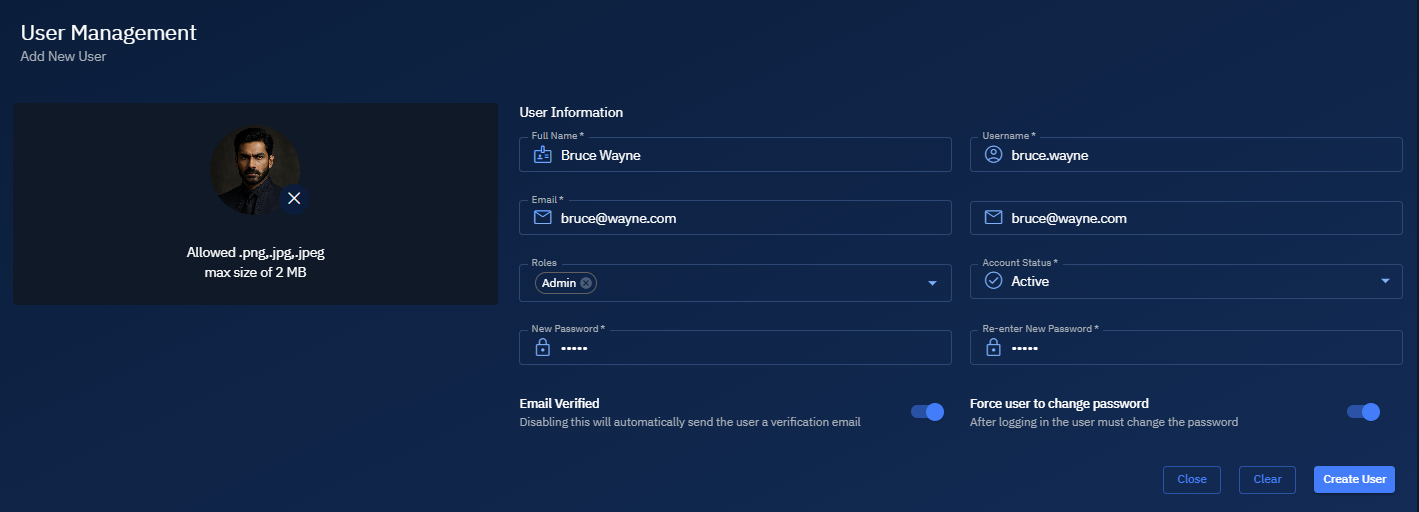
- Click the Create User button to save and add a new user to the platform.
Managing Users
In this section, you will learn how to manage users namely searching, changing status of users in bulk, editing, and deleting users.
Searching Users
Find specific users by their usernames in the platform.
To search users, do the following:
-
Login to the platform.
-
Click the User Profile Avatar and then click the Users sub-module.
The User Management page is displayed:
-
On the User Management page, type partial or full username to find a specific user in the Search User field.
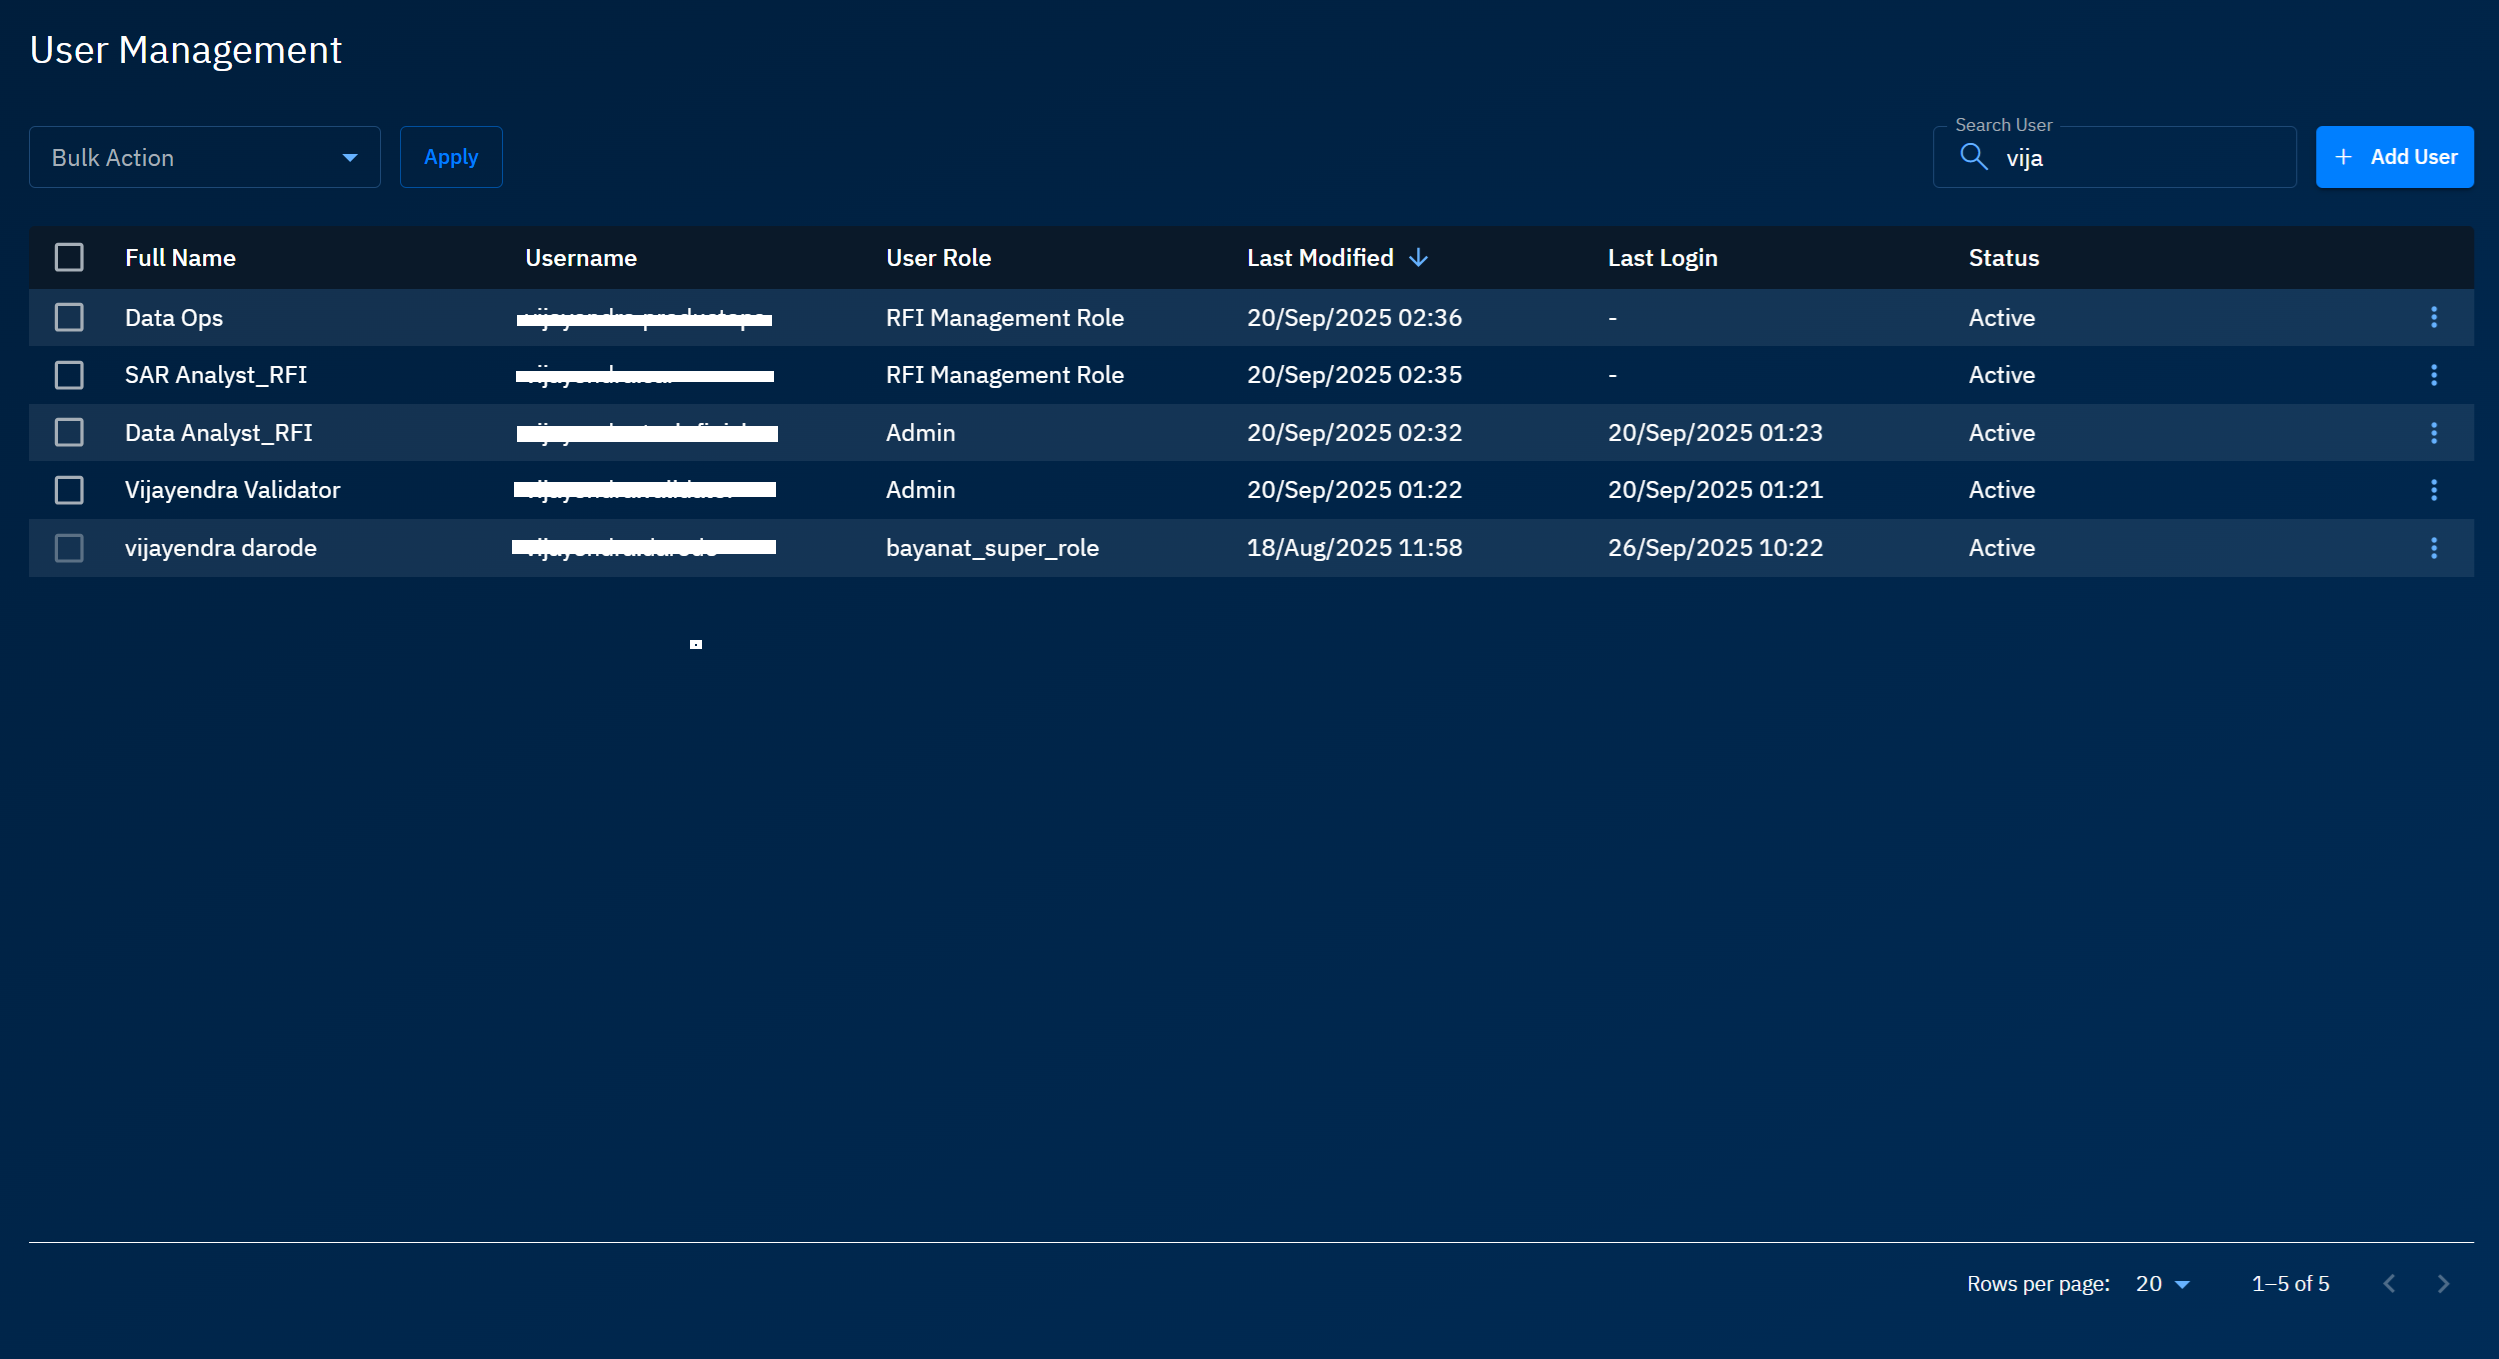
As you type the username, the platform displays partial or full match for the users.
Changing User Status in Bulk
Activate or deactivate users in a single click.
To change status in bulk, do the following:
-
Login to the platform.
-
Click the User Profile Avatar and then click the Users sub-module.
The User Management page is displayed:
-
On the User Management page, locate the users that you want to deactivate or active, and the select the users.
-
Click the Bulk Actions drop-down list, and do one of the following:
-
Select the Deactivate option to deactivate the selected users.
-
Select the Activate option to activate the selected users.
-
Editing Users
Make changes to the user information and the password.
To edit user information, do the following:
-
Login to the platform.
-
Click the User Profile Avatar and then click the Users sub-module.
The User Management page is displayed:
-
On the User Management page, locate the user whose information you want to edit, and then click the More Options menu of the user.
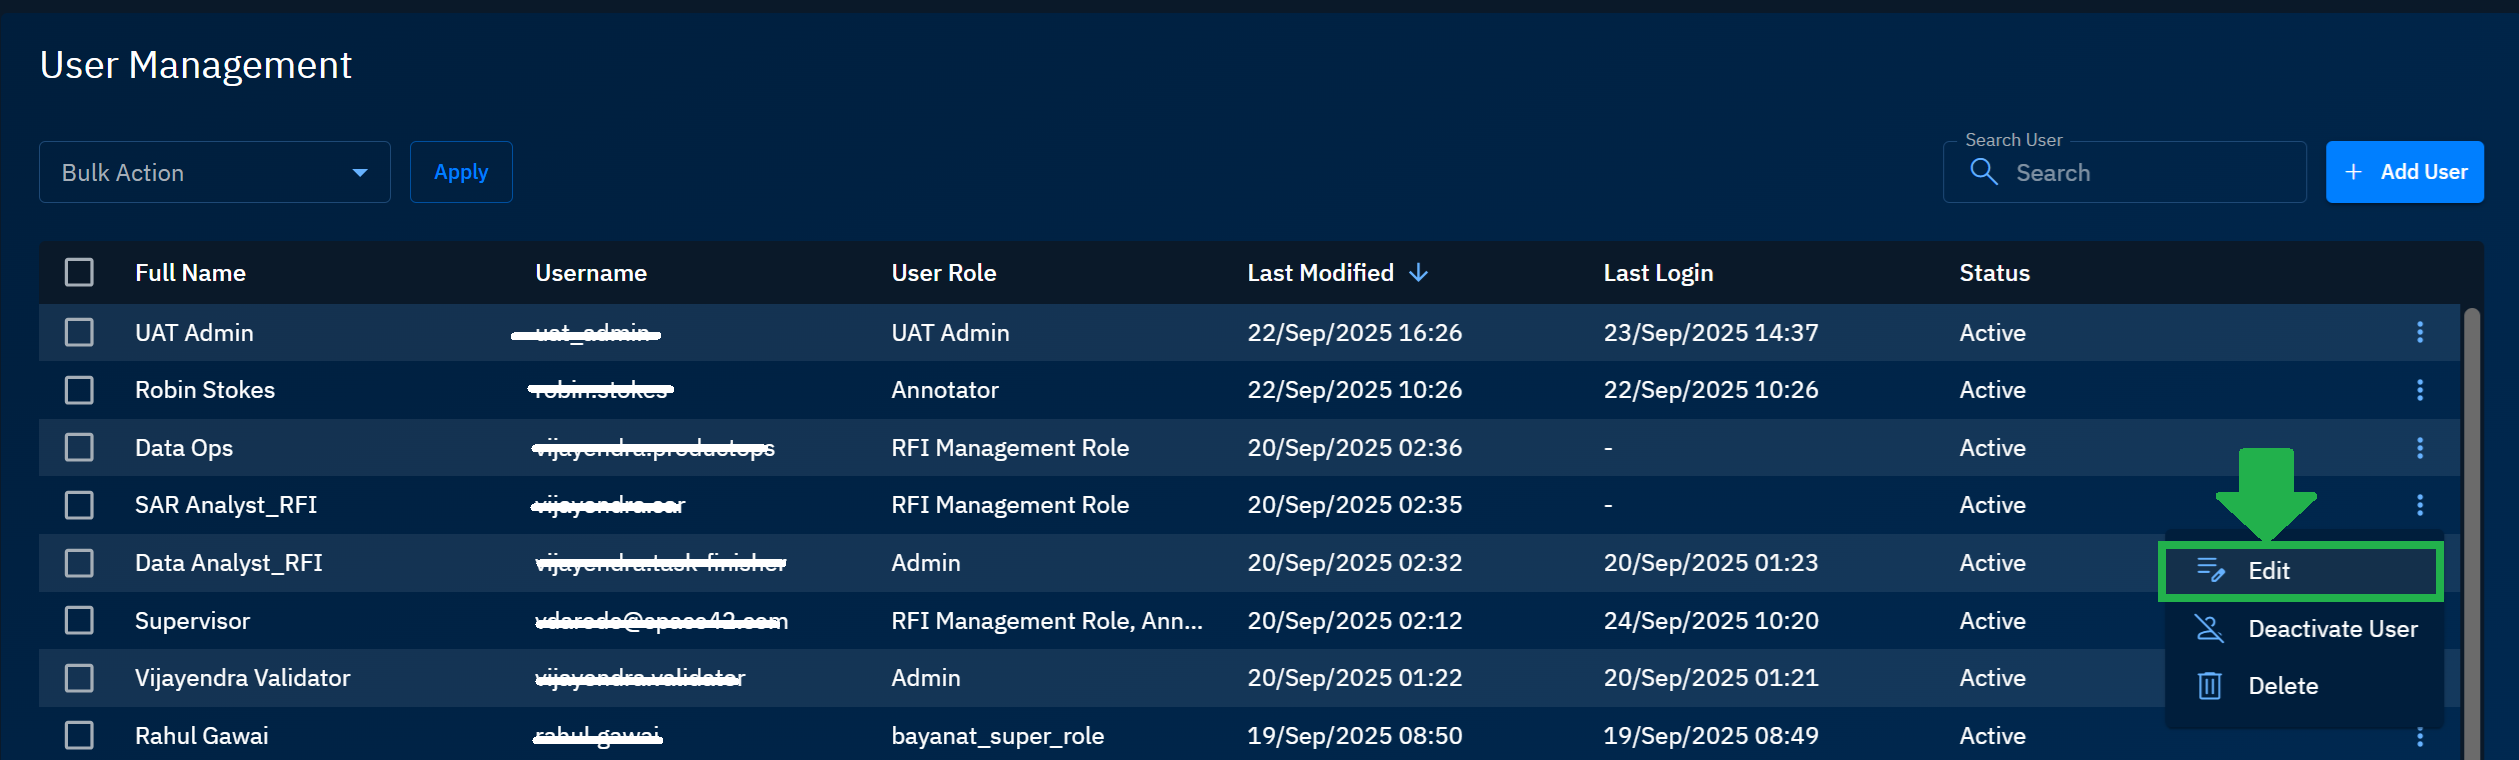
The User Management - Edit User page is displayed.
-
On the Edit User page, you can change all the information of the user including assigning a new role, uploading a new profile picture, or forcing the user to change the password. You are NOT permitted to change the username.
-
Click the Update button to save the changes.
Deleting Users
Permanently remove users from the platform.
To delete users, do the following:
-
Login to the platform.
-
Click the User Profile Avatar and then click the Users sub-module.
The User Management page is displayed:
-
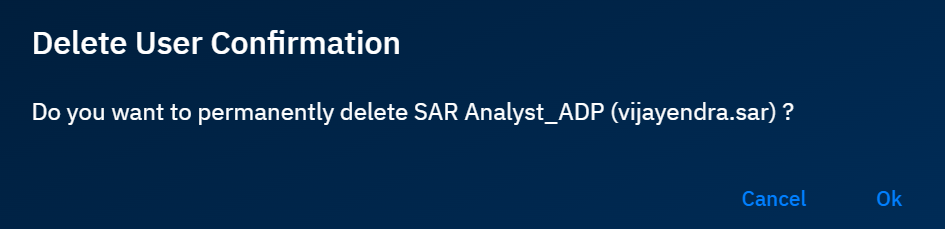
On the User Management page, locate and select the user that you want to delete, click the More Options menu of the user, and then click the Delete option.
The Delete User Confirmation dialog box is displayed.
-
In the Delete User Confirmation dialog box, click the OK button to confirm the action.